
Chutia-Ahom conflicts
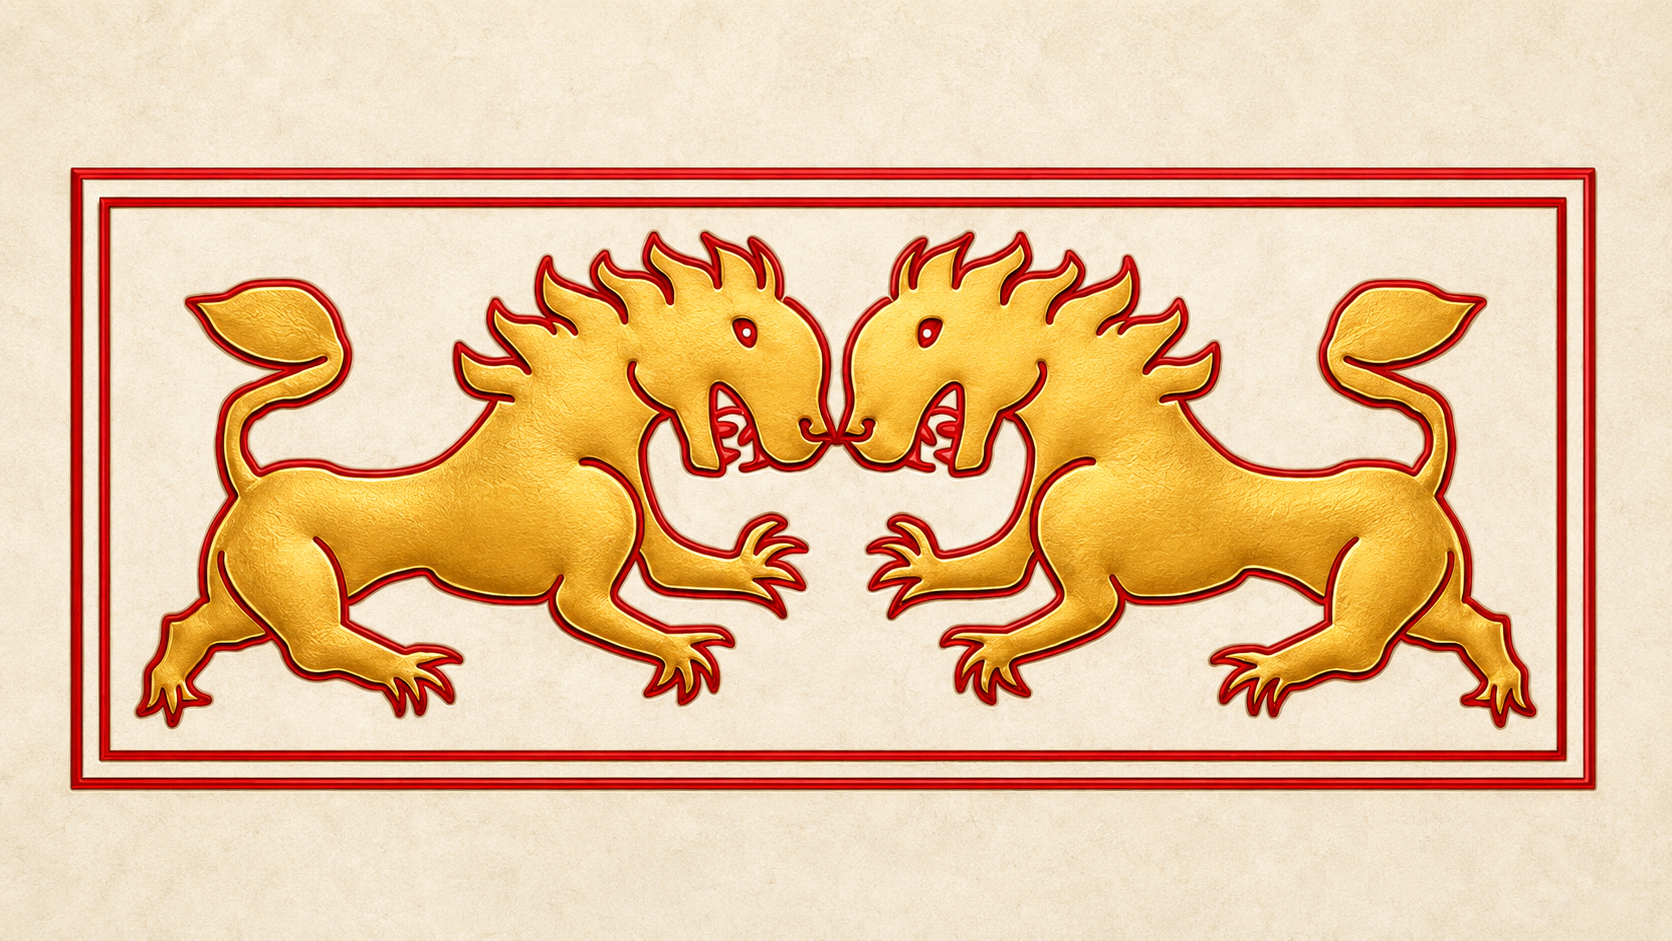

The Chutia–Ahom conflicts were a series of military confrontations between the Chutia kingdom and the Ahom kingdom in the upper Brahmaputra Valley, culminating in the Ahom conquest of the Chutia state during the reign of Suhungmung. Although political contacts and an earlier confrontation between the two powers are recorded from the fourteenth century, sustained warfare began with the Ahom advance into Habung in 1512 and the Chutia campaign at Dikhowmukh and Dihingmukh in 1513 and 1520, respectively. The principal theatre of war subsequently shifted eastward, first to Dibrugarh, and finally to Sadiya and the adjoining hill forts located in present-day Arunachal Pradesh.
The war was not a continuous campaign. After an Ahom victory in 1513, the Chutias recovered the important frontier fort of Mungkhrang at Dihingmukh (present-day western Majuli) in 1520 and killed its Ahom commander. The Ahoms launched a renewed offensive in late 1522 at Dihingmukh, established a forward fort near the Dibru or Tiphao, defeated a Chutia counterattack in 1523, and advanced toward Sadiya. Peace negotiations failed when Suhungmung demanded the surrender of the principal Chutia royal insignia. The subsequent campaign ended with the defeat of the Chutia ruling house in 1523–24.
The annexation did not immediately secure the eastern territories for the Ahoms. Chutia resistance continued, with major uprisings in 1527 and 1529 and further outbreaks during the sixteenth century. The conquest nevertheless marked an important stage in the territorial expansion and administrative transformation of the Ahom state. The office of the Sadiya Khowa Gohain was established for the newly conquered Chutia capital region, while Chutia nobles, military personnel, artisans and specialised occupational groups were incorporated into the expanding Ahom polity.
Sources and chronology
The detailed narrative of the conflicts is derived primarily from the Buranji chronicle tradition. Important accounts occur in the Tai-language Ahom Buranji, edited and translated by Golap Chandra Barua, the Deodhai Assam Buranji, the Satsari Assam Buranji, the Assam Buranji associated with the Sukumar Mahanta manuscript, and several other Assamese chronicles.
Early relations
Contacts during Sukaphaa's period
The Buranjis place contacts between the Chutias and the Ahoms as early as the period of Sukaphaa. Some accounts state that Chutias, together with Morans and Borahis, were encountered and incorporated into Sukaphaa's following during his movement through Upper Assam. The traditions include the origins of several later Ahom families or offices among groups of Chutias who had been taken into the early Ahom settlement. At the political level, relations appear to have remained generally peaceful during much of the early Ahom period. The Satsari Assam Buranji states that an alliance or cordial relationship with the Chutia ruler had existed from the time of one of Sukaphaa's sons until the reign of Sutuphaa. Historian Yasmin Saikia notes that, faced with significant political opposition from the Kacharis, the early Tai-Ahoms sought friendship with the Chutias, although an attempt to establish such relations in the mid-fourteenth century was unsuccessful and was followed by a lull of nearly a century. Historian Jae-Eun Shin consequently describes the confrontation under Sutuphaa as the first clearly recorded political conflict between the two states.
Death of Sutuphaa
In the late fourteenth century, the Ahom king Sutuphaa was invited by the Chutias to a meeting near the Safrai River. A dispute arose, and Sutuphaa was seized and killed. The chronicles differ over the circumstances of his death. Some traditions state that he was killed by being trampled by a bull, while others describe his murder aboard a boat. The Tai-language Ahom Buranji simply records that the Tiora or Chutias took him away and killed him, without explicitly naming a Chutia king as responsible. Sutuphaa's death was followed by an interregnum in the Ahom kingdom. The Ahom Buranji places the interval at four years. His successor Tyao Khamti subsequently led an expedition against the Chutias to avenge the killing, but was unsuccessful. No sustained war between the kingdoms is recorded for more than a century thereafter.
Background
Territorial situation before the war
On the eve of the sustained conflict, the Chutia kingdom was ruled from Sadiya or Sadhayapura and controlled a broad region of Upper Assam together with adjoining plains and foothills of present-day Arunachal Pradesh. Its principal territory has been reconstructed as extending through the valleys of the Subansiri, Brahmaputra, Lohit and Dihing, while Habung on the north bank formed a Chutia dependency. Some scholars place the kingdom's wider reach westwards to the Viswanath region and northward into present-day Arunachal Pradesh, including the Itanagar area., with the Burhi Dihing flowing south of present-day Majuli identified as its southern limit.
The Ahom kingdom, by comparison, was concentrated in southeastern Upper Assam before the territorial expansion under Suhungmung. Sukaphaa's original principality was established in the tract between the Dikhow and the Burhi Dihing, while his successor Suteuphaa extended the western boundary to the Namdang River, a tributary of the Dikhow. After this, it remained broadly unchanged for nearly two centuries. Towards the north, the Burhi Dihing formed the frontier. The historical course of the Dihing ran considerably farther west than the modern Burhi Dihing, flowing through the Sivasagar region before joining the Brahmaputra near the western end of Majuli, making the river system an important northern and western limit of early Ahom expansion. On the east, the Patkai range formed the recognised boundary with the Tai polity of Möng Kawng. Following the Mong Kwang invasion during the reign of Sudangphaa, a treaty concluded in 1401 formally fixed the Patkai as the boundary between the two kingdoms. Thus, immediately before Suhungmung's expansion, the Ahom realm remained a relatively compact polity centred on the Sibsagar-Charaideo–Namrup–Tipam region, bounded broadly by the Burhi Dihing system towards the Chutia territories to the north and west, the Namdang–Dikhow region towards the Kachari territories to the south and south-west, and the Patkai hills to the east.
Suhungmung and the advance into Habung
The balance changed during the reign of Suhungmung (1497–1539), under whom the Ahom kingdom entered a period of rapid territorial expansion. In 1512, the Ahoms advanced into Panbari in Habung (a Chutia dependency). There he came across the Brahminfamily which had earlier brought up the Bamunia Konwar. Suhungmung took the Brahmin into his service, presented him with a gold sacred thread, and appointed him an officer responsible for supplying fodder for elephants. The advance was strategically significant because Habung lay on the northern side of the riverine frontier between the two states. Buranji accounts represent the Dihing and its associated channels as an important dividing zone, with Chutia territory to the north and the Ahom domains to the south.
The Dihing fishing dispute
While Suhungmung was staying at Panbari, he sent some of his soldiers to fish in the Dihing River. When the Ahom soldiers attempted to catch a large borali fish in the river, they were noticed by the Chutias. Chutia officials regarded the activity as an intrusion into Chutia waters. Manik Chandra Barua, possibly an official governing the Dihing valley, sent men to intervene. The Ahom soldiers, however, seized the Chutia men along with the fish and carried them away. Manik Chandra Barua then reported the incident to Nitai, the son-in-law of the Chutia king Dhirnarayan, who in turn informed the king that the Ahoms had crossed the accepted Dihing boundary and entered Chutia territory.
Conflicts
Dikhowmukh campaign, 1513
Following the frontier dispute, Dhirnarayan mobilised the Chutia forces and advanced westward in 1513. The Chutia army moved along the Brahmaputra and established a fortified position at Dikhowmukh. The fortification is described as a Posola-garh, a defensive stockade constructed with banana plants or trunks. At that time, Dikhowmukh was situated considerably farther west than its present location, in the vicinity of modern Kaziranga. From there, the Chutia forces advanced to the Cheruakata area and established another camp near the Nongkomung lake. A section of the army then embarked on large war boats (bor-nao) from Cheruakata and proceeded towards the area known as Shira-ati.
Suhungmung responded by dispatching Chao Shukhring and the Railungia Gohain with troops against the Chutia fleet while the main Ahom forces attacked the land positions. Fighting occurred on both land and water. The Chutia forces were defeated and withdrew eastward. The Satsari Assam Buranji states that 4,000 Chutia soldiers were killed and another 3,000 were taken prisoner. It further states that the prisoners were beheaded and that the Ahom king had a garland made from their severed heads.
According to the Satsari Assam Buranji, the fighting did not end at Dikhowmukh. The Chutia forces moved upstream, and another battle lasting five days took place at Tinimuni in the Dibrumukh region. Among the Chutia leaders who participated in this engagement were Manik Chandra Barua, Dhela (the brother of the Chutia king) and Borhuloi Barua. During the fighting, Manik Chandra Barua was struck by an arrow. The Chutia army, including the contingent led by Borhuloi Barua, subsequently retreated towards Sadiya. This battle at Dibrumukh, however, is not mentioned in the other Buranjis. It is therefore possible that the Satsari Assam Buranji has incorporated into its account of the 1513 campaign a description of the later fighting at Dihingmukh and Dibrumukh, when the Chutia army was defeated, and the Ahoms subsequently constructed a fort at Dibrumukh.
Following the defeat, the Chutia forces remaining at Dikhowmukh withdrew from the area, and Panbari passed into Ahom hands. The Ahom advance after Dikhowmukh did not immediately lead to an attack on Sadiya. Instead, the new frontier was consolidated through fortified positions. In 1519, Suhungmung again advanced from Habung towards Dihingmukh and constructed a military post Mungkhrang there, which was part of the Chutia territory. The Dihingmukh referred to in these accounts corresponded to an area in what is now western Majuli, reflecting the different course of the Dihing and Brahmaputra river system during the sixteenth century.
Chutia recovery of Mungkhrang, 1520
In 1520, the Chutia army again advanced downstream and attacked the newly constructed Ahom fort at Dihingmukh, Mungkhrang. Khenmung, the Ahom commander responsible for the fort, came out to oppose the attackers and was killed in the fighting. The surviving Ahom troops abandoned the position. The Dihingmukh region consequently returned to Chutia control. This was the most important Chutia victory of the war, as it reversed much of the Ahom advance along the Dihing frontier and forced Suhungmung to organise a new offensive two years later.
Political situation in the Chutia kingdom
In 1522, King Dhirnarayan made a land grant to a Brahmin in the Habung region, corresponding broadly to present-day Dhakuakhana. As per Chutia traditions, Dhirnarayan had a daughter, Sadhani, and subsequently a young son named Sadhak Narayan. Sadhani was married to a man named Nitai, who was made heir or regent and assumed the royal name Nityapal or Nitipal. Nityapal's accession as king after Dhirnarayan was politically disruptive. Members of the established royal family and aristocracy resented the elevation of a man of comparatively humble origin. A faction headed by Dhirnarayan's brother Surajit or Suradhvajpal is said to have conspired against him. Nityapal dismissed established officials and replaced them with men personally loyal to him, which the tradition presents as further weakening aristocratic support. Nityapal sent the minister Kasitora to capture Suradhvajpal, but Suradhvaj fled the kingdom and could not be apprehended. The narrative states that he increasingly appointed companions from ordinary families to positions of authority, thereby alienating established aristocratic families and losing their confidence and loyalty. Traditions further accuse him of arbitrary administration and oppression of his subjects, claiming that he failed to judge people according to merit or fault. As a result, Nityapal was said to have acquired among the population the disparaging name Anitipal, meaning an unjust or unrighteous ruler.
Ahom counter-offensive, 1522
Towards the end of 1522, Suhungmung launched a major counter-offensive. The king came to the vicinity of Nongkomung Lake, while an Ahom force under Phrasenmung Borgohain was sent against the Chutia troops occupying the Dihingmukh region. The Borgohain, commanding the Ahom forces, drove the Chutia army eastwards from Dihingmukh. During the operations, they captured many Chutia bor-nao (war boats). A man named Lashaitai was placed aboard one of the captured war boats and sent back to Suhungmung with information about the Chutia dispositions. The king had meanwhile advanced to Cheruakata. Lashaitai reported that the Chutia forces had established positions farther east in the Dibrumukh region. It is possible that the battle around Dibrumukh, as described in the Satsari Assam Buranji, took place after this movement.
Dibrugarh campaign, 1523
The Ahoms followed the recovery of the Dihing position by establishing another advanced fort farther east. In the month of Kati in 1523, acting on the orders of Suhungmung, Phrasengmung Borgohain and King-lung Burhagohain Rajmantri advanced with their full forces towards the mouth of the Dibru River (Dibrugarh) and constructed a fort there. Suhungmung meanwhile returned to Charaideo, where he offered sacrifices to the gods before resuming the campaign.
In the month of Aghon in 1523, Suhungmung again advanced with his army and established a camp at Sessamukh. On learning that the Ahoms had constructed a fort at Dibrumukh, the Chutia king advanced from Sadiya to Larupara, identified with an area near present-day Chabua, and prepared an attack on the new Ahom fort. From Larupara, the Chutia king dispatched an army under Burha Barua (Thaoban Barua) towards Dibrumukh with orders to drive the invading forces out of the kingdom. In accordance with the king's orders, the Chutia commander attacked the Ahom fort at Dibrumukh.
Suhungmung also moved towards Dibrumukh and personally joined the campaign. Phrasengmung Borgohain and King-lung Burhagohain Rajmantri advanced together by land and attacked the Chutia naval force operating in the river. The Chutia fleet was led by three commanders: Kasitora, Alengi Chetia and Borpatra. The title Borpatra is particularly significant because a Vrihat-patra or "great Patra" is known independently from the earlier Chutia administration of Habung. The Chutia forces were defeated and compelled to retreat eastwards. On the following day, Suhungmung gathered the ministers, senior officers and troops stationed in the fort and advanced farther east, entering the Sonari region, identified in this account with the area around present-day Kakopathar.
Peace negotiations
After the defeat on the Dibru–Tiphao front, the Chutia ruler attempted to negotiate with Suhungmung. The Buranjis give unusually detailed descriptions of the diplomatic exchanges. The first embassy carried valuables including gold Keru earrings (tong-ru-kham), a Muga or gold-decorated mekhela(sin-kham), cotton cloth (phra-nun), a silver bedstead (tha-ka-ngen) and mats. Suhungmung accepted the presents but demanded the surrender of the principal heirlooms of Chutia kingship, including the gold and silver cat idols, gold and silver umbrellas, gold bedstead and gold spectre. He also demanded ten male elephants and a woman from the Chutia court.
The Chutia ruler agreed to surrender elephants and the woman but refused to hand over the central royal heirlooms, arguing that they were inherited possessions of his ancestors. A second embassy was sent approximately a month later with another collection of gifts. These included a gold-and-silver japi (kup-ngen-chon-kham), gold boxes (khup-kham), gold containers (liu-kham), gold umbrellas (chang-kham), gold bracelets (mao-kham) and anklets (khu-tin-kham), elephants, horses, ivory mats, a knife or dao, and fine cloth. At the same time, the Chutias were constructing or strengthening a fort beside the Brahmaputra. The combination of the continuing fortification, the refusal to relinquish the royal insignia and the inclusion of a knife among the gifts convinced Suhungmung that the negotiations had failed. He therefore ordered a further advance on Sadiya.
Advance on Sadiya, 1523–24
The Ahom army crossed the Luit by means of a bridge or line of boats, and dislodged the defenders. One account says the Chutia king, at the time, was engaged in excavating a tank as well. The sudden Ahom assault on the fort near the mouth of the Luit forced him to abandon the position and withdraw towards Chandangiri. Kasitora, meanwhile, retreated to the hill fort of Doithang.
After occupying Sadiya, Suhungmung remained at the principal settlement or Bar-nagar of the region and divided his forces for operations against the remaining Chutia positions. Phrasengmung Borgohain and King-lung Burhagohain were sent against Chandangiri, while Konseng, described in the chronicle as the Dhanudhari Gohain (Chao-seng Kung-rin), was directed against Kasitora at Doithang.
Battle of Chandangiri and Doithang
Chandangiri offered the defenders a strong natural position. The Ahom forces captured Tamuli Gajarai Barua, an officer of the Chutia king, together with members of his family, and compelled him to reveal the place where the Chutia king and queen had taken refuge. According to the chronicle narrative, Gajarai had himself been hiding in the forest. His position was discovered when the crying of his child was heard by Ghar Sandikai, the son of Phrasengmung. Ghar Sandikai surrounded him and threatened to kill him unless he disclosed the location of the king. Gajarai's wife and child were then detained while he was sent to search for the royal party. Despite repeated attempts, Gajarai initially failed to locate them. Eventually, according to the account, the queen became hungry, and food was cooked beside a mountain stream. The smoke rising from the fire revealed their position. Gajarai then informed the Ahom officers that the Chutia king and queen were sheltering beside a stream on Chandangiri.
The first Ahom attempts to ascend the hill failed. The Ahom army repeatedly attempted to ascend Chandangiri but was initially unable to take the position. The Chutia defenders rolled and hurled large stones down the slope, killing a number of the attacking troops and forcing the Ahom forces to withdraw.
The Satsari Assam Buranji and the Assam Buranji associated with the S. M. manuscript state that Queen Sadhani was pregnant during the battle. The Tai-language chronicle edited by Golap Chandra Barua refers instead to a royal woman as Nang-lung and also mentions a king and his son. The precise identity of the three royal individuals in this version is uncertain because the term Nang-lung may be interpreted as either a queen or a royal princess. Depending on the interpretation of the chronicle tradition, the three could have been Dhirnarayan, Sadhani and Nityapal or Sadhak Narayan; alternatively, they could have been Nityapal, Sadhani and their son. The marriage of Sadhani and Nityapal appears, in the Assam Buranji tradition, to have taken place before 1512–13, since during the events preceding the 1513 conflict Dhirnarayan is already described as receiving information concerning the Ahoms through his son-in-law.
Unable to ascend Chandangiri by direct assault, the Ahom troops withdrew, taking a Chutia soldier prisoner. They then changed their tactics and began surrounding the hill from three sides. A group led by Chao Ru-pak succeeded in climbing Chandangiri with the assistance of ghila creepers or trees. On reaching the upper slopes, they initially found no defenders. Continuing farther, they came upon a settlement where approximately forty people were present.
According to the Chutia chronicle tradition, Phrasengmung Borgohain then ordered some men to climb trees or elevated positions and beat dhol drums. The Chutia king was subsequently sighted near a place described as the Bar-duar or "great gate". The remaining Chutia soldiers nevertheless continued resisting and again hurled stones at the attackers, killing additional Ahom troops. Nityapal began shooting arrows at the enemy, but was struck by an arrow fired by Janmung-kham Phu-ke-chong and was killed. The Chutia tradition as recorded in the Deodhai Assam Buranji magnifies the participation of the women of the royal household. Sadhani and a large group of royal women (120 royal women or princesses) are represented as assisting the defence by carrying or rolling stones against the attacking force. At the same time, Konseng's force attacked Kasitora at Doithang. The Chutia defenders were eventually defeated, and the hill position was occupied by the Ahoms. Doithang appears again only a few years later during the large Chutia uprising of 1529, indicating that the hill country around Sadiya remained an important centre of resistance even after the destruction of the independent kingdom.
Death of the Chutia ruler and Sadhani traditions
The identity of those killed or captured in the last engagements differs substantially between the sources. The annalistic Ahom Buranji and Deodhai Assam Buranji describe the death of the Chutia king and a prince. S. L. Baruah interprets these passages as referring to Dhirnarayan and his son. Nagendra Nath Acharyya, combining the chronicle traditions, instead describes Dhirnarayan and his son-in-law Nityapal as having been killed in the final battle and Sadhak Narayan, Dhirnarayan's young son, as having survived. The Chutia genealogical narrative make Nityapal the reigning king and places Queen Sadhani at the centre of the final resistance. The Buranji text Asam Buranji(SM) records the son-in-law as the king in the final battle.
The manner of Sadhani's death varies across the chronicle traditions. The Chutia tradition states that she refused capture and leapt from Chandangiri, while other accounts describe the principal queen as being killed in the fighting. Gait records that she was struck by a spear and that the other royal consorts were either killed or captured. The Tai-language account likewise refers to a royal woman, or nang-lung, being struck by a weapon. The Satsari Assam Buranji states that Jangmongkham beheaded the chief Chutia princess (Barkonwari) and presented her head to the king, while the Asam Buranji (SM) adds that she was cut at the waist, her gold waistband was taken, and her head was subsequently presented to the king. The Deodhai Assam Buranji also portrays her as continuing the resistance rather than surrendering. Despite differences over the manner of her death, the sources consistently portray the principal royal woman as dying during the final resistance rather than being taken alive.
The defeat ended the independent Chutia state. The principal royal insignia and other property subsequently passed into Ahom possession.
List of battles and engagements
Name of conflict |
Belligerents |
Belligerents |
Outcome |
|---|---|---|---|
Ahom advance into Habung (1512 CE) |
Chutia kingdom |
Ahom kingdom |
Ahom territorial gain
|
Dikhowmukh campaign (1513 CE) |
Chutia kingdom |
Ahom kingdom |
Ahom victory
|
Chutia recovery of Mungkhrang (Dihingmukh) (1520 CE) |
Chutia kingdom |
Ahom kingdom |
Chutia victory
|
Ahom counter-offensive at Dihingmukh (1522 CE) |
Chutia kingdom |
Ahom kingdom |
Ahom victory
|
Dibrugarh campaign (1523 CE) |
Chutia kingdom |
Ahom kingdom |
Ahom victory
|
Peace negotiations (1523 CE) |
Chutia kingdom |
Ahom kingdom |
Negotiations failed
|
Advance on Sadiya (1523–24 CE) |
Chutia kingdom |
Ahom kingdom |
Ahom victory
|
Battle of Chandangiri and Doithang (1524 CE) |
Chutia kingdom |
Ahom kingdom |
Ahom victory
|
Post-conquest resistance
The collapse of the Chutia monarchy did not immediately end armed resistance. The Buranjis record repeated uprisings across the former Chutia territories during the sixteenth century.
Revolt of 1527
The first major uprising occurred in 1527. Chutia forces rose against the newly established Ahom administration and surrounded or threatened the frontier positions around Sadiya. The Dihingia Gohain, also known by the Tai title Thao-mung Mung-klang, was sent to reinforce Phrasengmung Borgohain. He was killed during the fighting. The Ahoms eventually suppressed the rebellion, but the loss of a senior frontier officer demonstrated that control over the new province remained insecure. Administrative arrangements were altered after the uprising. King-lung Burhagohain was appointed to an eastern frontier command described in the Tai chronicle as Thao-mung-lung Bo-ngen, with authority extending from Kangkham towards the upper Lohit region.
Revolt of 1529
A substantially larger rebellion broke out towards the end of 1529. The fighting covered a wide area around the former Chutia capital and the adjoining hills. Suhungmung personally proceeded eastward with senior officers and reached Kangkham. Forces were dispatched towards the Chutias living along the Dibang side of the frontier, while the king advanced into Sadiya. The Ahom army was divided among several fronts. Suklenmung, then the Tipam Raja, and other officers were ordered against Chutia forces occupying Doithang. The Chutias were defeated there, and another Ahom victory followed at Marankao. Fighting then resumed at Chandangiri, the same fortified hill associated with the last campaign of the independent kingdom. Phrasengmung Borgohain led the attack. As in the earlier battle, the Chutias used the steep ground and rolled large stones against troops attempting to ascend, forcing the attackers back during the initial assaults. Other engagements occurred along the Brahmaputra, Dibang and Kundil–Lohit river system. Chao Shuling, one of the Ahom frontier officers, was temporarily captured during the rebellion before being recovered. After a series of engagements, the rising was suppressed and Ahom authority at Sadiya was re-established. The scale and geographical spread of the 1529 uprising indicate that the conquest of 1523–24 had destroyed the Chutia monarchy but had not yet eliminated organised resistance in its former heartland.
Later sixteenth-century resistance
Smaller or more localised Chutia risings continued after Suhungmung's reign. Nagendra Nath Acharyya records another Chutia raid in 1542 during the reign of Suklenmung. In 1550, following instability in the Sadiya administration, a Chutia leader known as Kanshapatra proclaimed himself king in the Sadiya region. He obtained support from dissident elements, including several Ahom princes, and resisted Ahom authority until he was defeated and killed in 1553. The Ahom Buranji records Chutia forces plundering territory at Namrup and Kheram in 1565. Another major uprising took place in 1572 under a Chutia leader described simply as a Senapati. The rebels were pursued through Kanchai to Pukhurikhana, where the Senapati and a large number of his followers were captured.
These later disturbances were no longer wars between independent Chutia and Ahom kingdoms. They represented resistance by Chutia chiefs and populations Such resistance persisted until 1673, after which the Chutias appear to have been more fully incorporated into the Ahom polity; Lakshmi Devi notes that no further Chutia disturbances are recorded from 1673 until the end of Ahom rule.
Military character
The conflicts were fought primarily in a riverine environment. Both kingdoms relied heavily on boats for transporting troops and attacking positions located along the Brahmaputra and its tributaries. The chronicles repeatedly distinguish between forces advancing by land and fleets operating simultaneously on the rivers. The capture of Chutia bor-nao or large boats during the 1522 campaign and the attempts to destroy Ahom forts at the mouths of the Dihing, Dibru and Tiphao illustrate the importance of naval mobility. Fortification was equally important. The Chutia position at Dikhowmukh was defended by the Posola-garh, while the Ahoms successively constructed forward forts at Mungkhrang and on the Dibru–Tiphao line. In the final stages, the Chutia army abandoned the open floodplain for the natural strongholds of Kaitara, Chandangiri and Doithang. The fighting at Chandangiri demonstrates the contrast between warfare on the plains and in the hill approaches to Sadiya. The Ahom forces, which had successfully pushed the Chutias eastward by combined land and river operations, were initially unable to storm the hill directly and resorted to flanking or rear approaches. The Chutia defenders exploited the steep slopes by rolling stones against the attackers.
Folklore and memory
The wars, particularly the fighting around Dibru and Sadiya and the death of Sadhani, survived in Chutia oral tradition. Later Bihu songs refer to men leaving for the battles of Dibru and Sadiya and to the anxiety of families awaiting their return. Other songs commemorate the death of the Chutia ruler and Sadhani. These songs are valuable as evidence for the later communal memory of the conflict rather than as independent contemporary records of the sixteenth-century campaigns. In modern Chutia cultural memory, the Chandangiri episode and Sadhani's refusal to surrender have become the dominant symbols of the fall of the kingdom.
See also
- Chutia kingdom
- Chutia people
- Sati Sadhani
- Sadiya
- Ahom kingdom
- Bhismaknagar
- Barnagar, Sadiya
- Chandangiri
- Dibrugarh
- Majuli